Performing regular oil changes on your 2014 Silverado is crucial for maintaining its engine’s longevity and performance. Whether you’re a seasoned DIY mechanic or just starting out, this guide will walk you through the steps to complete an for your 2014 Silverado Oil Change.
Why Regular Oil Changes Matter
Your 2014 Silverado relies on clean engine oil to function efficiently. Over time, oil breaks down and becomes contaminated with dirt, debris, and other particles that can damage your engine. Changing the oil regularly helps to ensure your engine remains lubricated, reduces wear and tear, and keeps your Silverado running smoothly.
What You’ll Need for an Oil Change
Before you begin, gather the necessary tools and materials:
- 6 quarts of the recommended engine oil (SAE 5W-30 for most climates)
- Oil filter (recommended: ACDelco PF63)
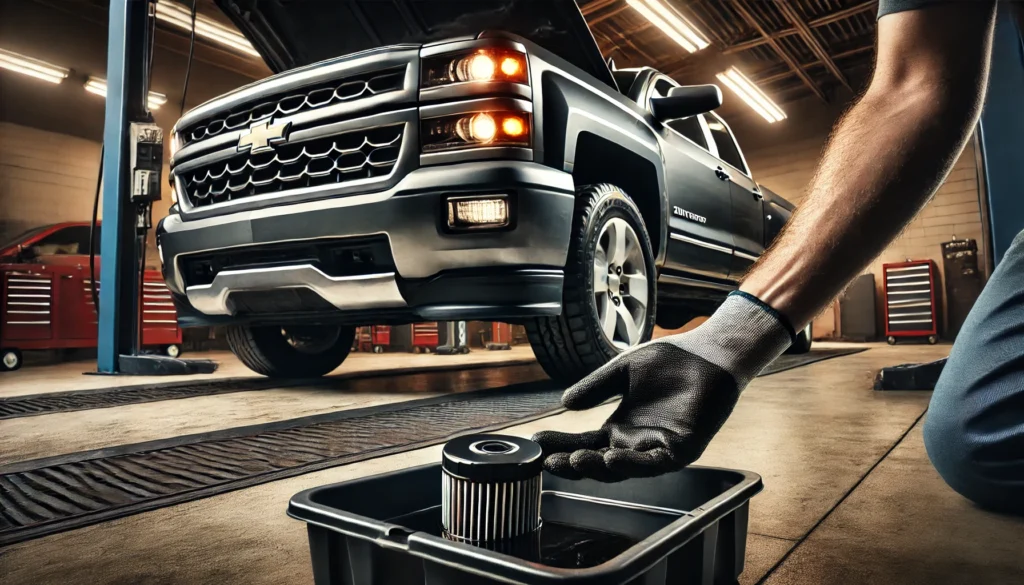
- Oil filter wrench
- Drain pan
- Funnel
- Socket wrench set
- Gloves and protective eyewear
- Ramps or a jack and jack stands
Step-by-Step Guide to Changing the Oil
- Prepare Your Vehicle: Make sure the engine is cool. Position your Silverado on a flat surface and secure it with ramps or jack stands if necessary.
- Drain the Old Oil: Place the drain pan under the oil pan. Use a socket wrench to remove the drain plug and let the oil flow into the pan. Once drained, replace the drain plug and tighten it securely.
- Remove the Old Oil Filter: Use an oil filter wrench to remove the old filter. Be cautious, as it may still contain hot oil. Allow any remaining oil to drain from the filter mount.
- Install the New Oil Filter: Apply a thin layer of new oil to the gasket of the new oil filter. Screw the new filter onto the engine by hand until it’s snug. Tighten an additional three-quarters of a turn.
- Add New Oil: Remove the oil cap on top of the engine. Place the funnel in the opening and pour in the new oil. Replace the oil cap and start the engine. Let it run for a few minutes to circulate the new oil.
- Check for Leaks and Oil Level: Turn off the engine and wait a few minutes. Check underneath the vehicle for any oil leaks. Then, check the oil level with the dipstick, adding more oil if necessary.
- Dispose of Old Oil Properly: Take the used oil and filter to a recycling center. Do not dispose of oil in regular trash or down drains.
Final Tips
- It’s advisable to check your vehicle’s manual for specific instructions related to oil changes and recommended oil types.
- Regularly monitoring your oil levels between changes can help identify potential leaks or other engine issues early.